Quiker Blog
News and updates

How to Jump a Car like a Pro in 7 Simple Steps
While seeming like a daunting task, learning how to jump a car is a life skill that may save the day down the road. Of course, dealing with a dead car is never fun, but being able to take care of things on your own can be a time and money saver. Let’s look at the basics of jumping a car, including how to use jumper cables.
Jumping a Car Prep Tips
With the proper preparation, jumping a car battery is a simple and straightforward process. Let’s go over a few fundamentals for jump-starting a car.
Have Jumper Cables
It’s pretty basic; jumping a car battery requires jumper cables. This essential should be standard equipment in your vehicle emergency kit. If you don’t have a set, buy a pair of jumper cables right now. And while you may never need jumper cables, you might someday be able to help a fellow motorist that’s stranded.
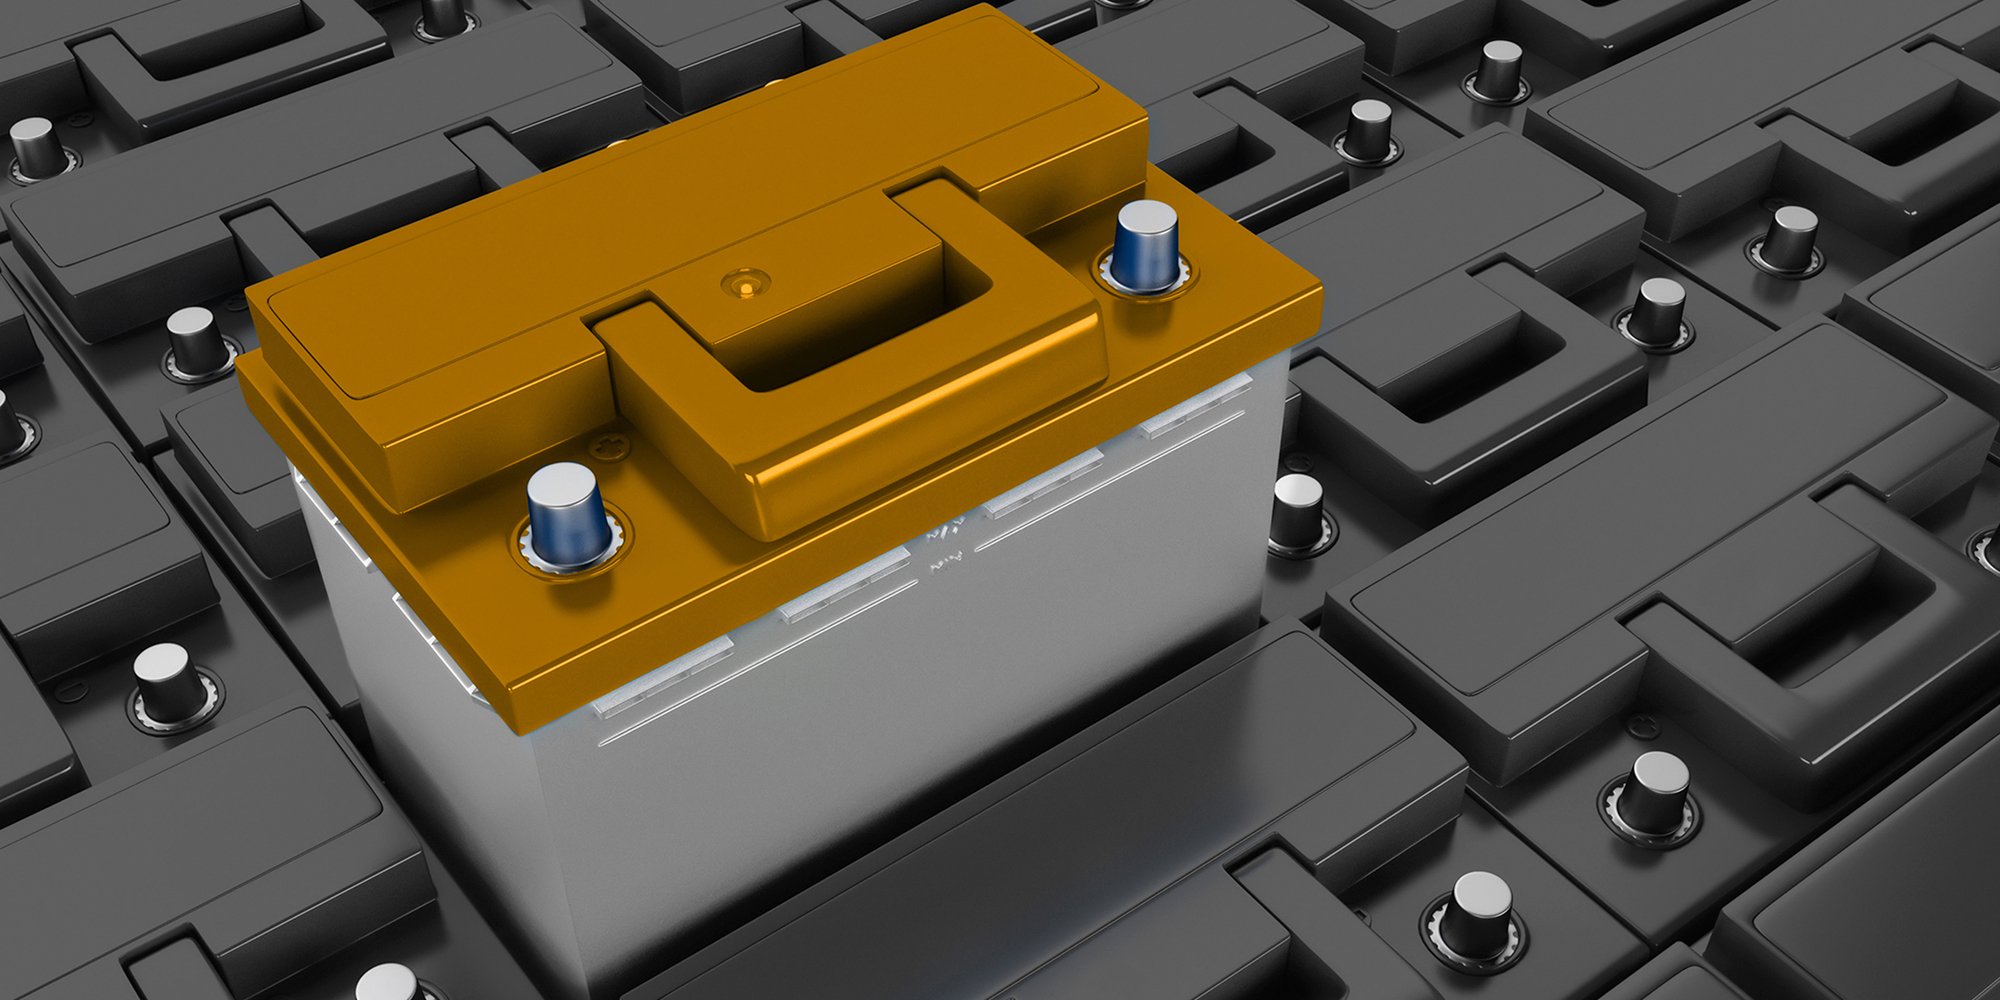
Locate Your Battery
Not every car has its battery located under the hood. It could be in the trunk or cargo area or even under a back seat. Knowing this location in advance will save time when you do need a jump-start later on.
Know The Battery Terminals
Every car battery has two terminals or posts: one is positive, and one is negative. Each terminal should be marked. A positive terminal will have a “+” label nearby and be connected to a battery cable marked with a red cap or red cable. A negative terminal will have a “-” nearby and be connected to an unmarked battery cable or a black cable that may have a black cap. In most cases, red means positive, and black means negative.
Car Jumping Cautions
Figuring out how to jump-start a car is not a complicated process. However, because you’ll be working around a lead-acid battery and gas-powered engine, you should always observe a few precautions.
Read the Owner’s Manual
No one knows your car better than its manufacturer. Reviewing the vehicle’s manual will provide necessary information on how to jump-start your car correctly. With some vehicles, the manufacturer even may recommend NOT jump starting at all.
Have Safety Equipment
In addition to jumper cables, your emergency kit should include safety goggles and work gloves. Jump-starting a car may involve being exposed to hot or sharp objects under the hood, so protecting your hands is important. Equally as vital is protecting your eyes and hands from battery acid and corrosion-covered parts.
Know When NOT to Jump
In addition to any automaker’s advice about not jump-starting a vehicle, don’t jump a car if you see the battery is damaged. You may notice a cracked case, fluid leaks, or significant corrosion. In addition, don’t jump-start a battery that may be frozen.
Always Separate Positive from Negative
Never allow a wrench or other metal object to touch the positive and negative terminals of a battery at the same time. This can damage the battery and cause sparking, which can ignite battery gases or fuel vapors coming from the engine. Similarly, never allow the positive and negative jumper cable clamps to touch each other while jumping the vehicle. It’s even a good idea to get in this habit even if the jumper cables are being stored in the trunk.
Safety First: If In Doubt, Get Help
If you feel uncertain or anxious at any point in the jump-starting process, just stop what you’re doing and call for professional roadside assistance.
How to jump a car in 7 simple steps
Now that you’ve studied up a bit on what’s involved with jumping a car let’s check out a step-by-step guide to get you back on the road. These efforts will rely on a working car with a battery that’s in good condition.
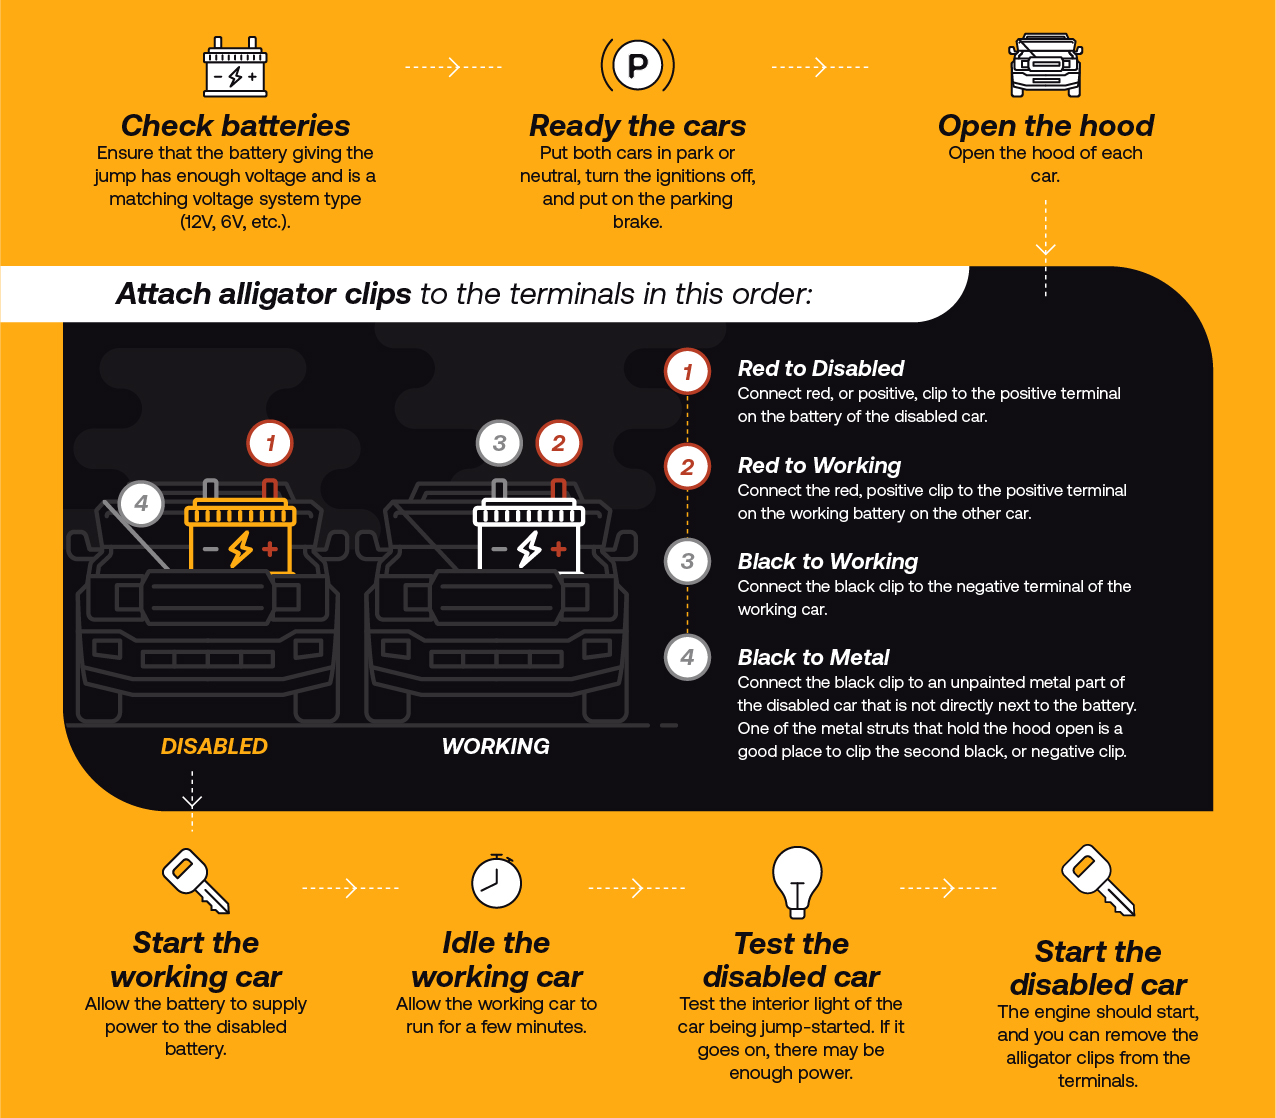
1: Park Close Together
Park the helper car close to the disabled car so that the batteries are ideally 2-3 feet away from each other. In most cases, this means that the fronts of both vehicles will be close together. Make sure that the cars don’t touch and the parking brakes are set.
2: Shut Off The Power
Turn off both vehicles. Make sure the ignition for each car is in the full “off” position.
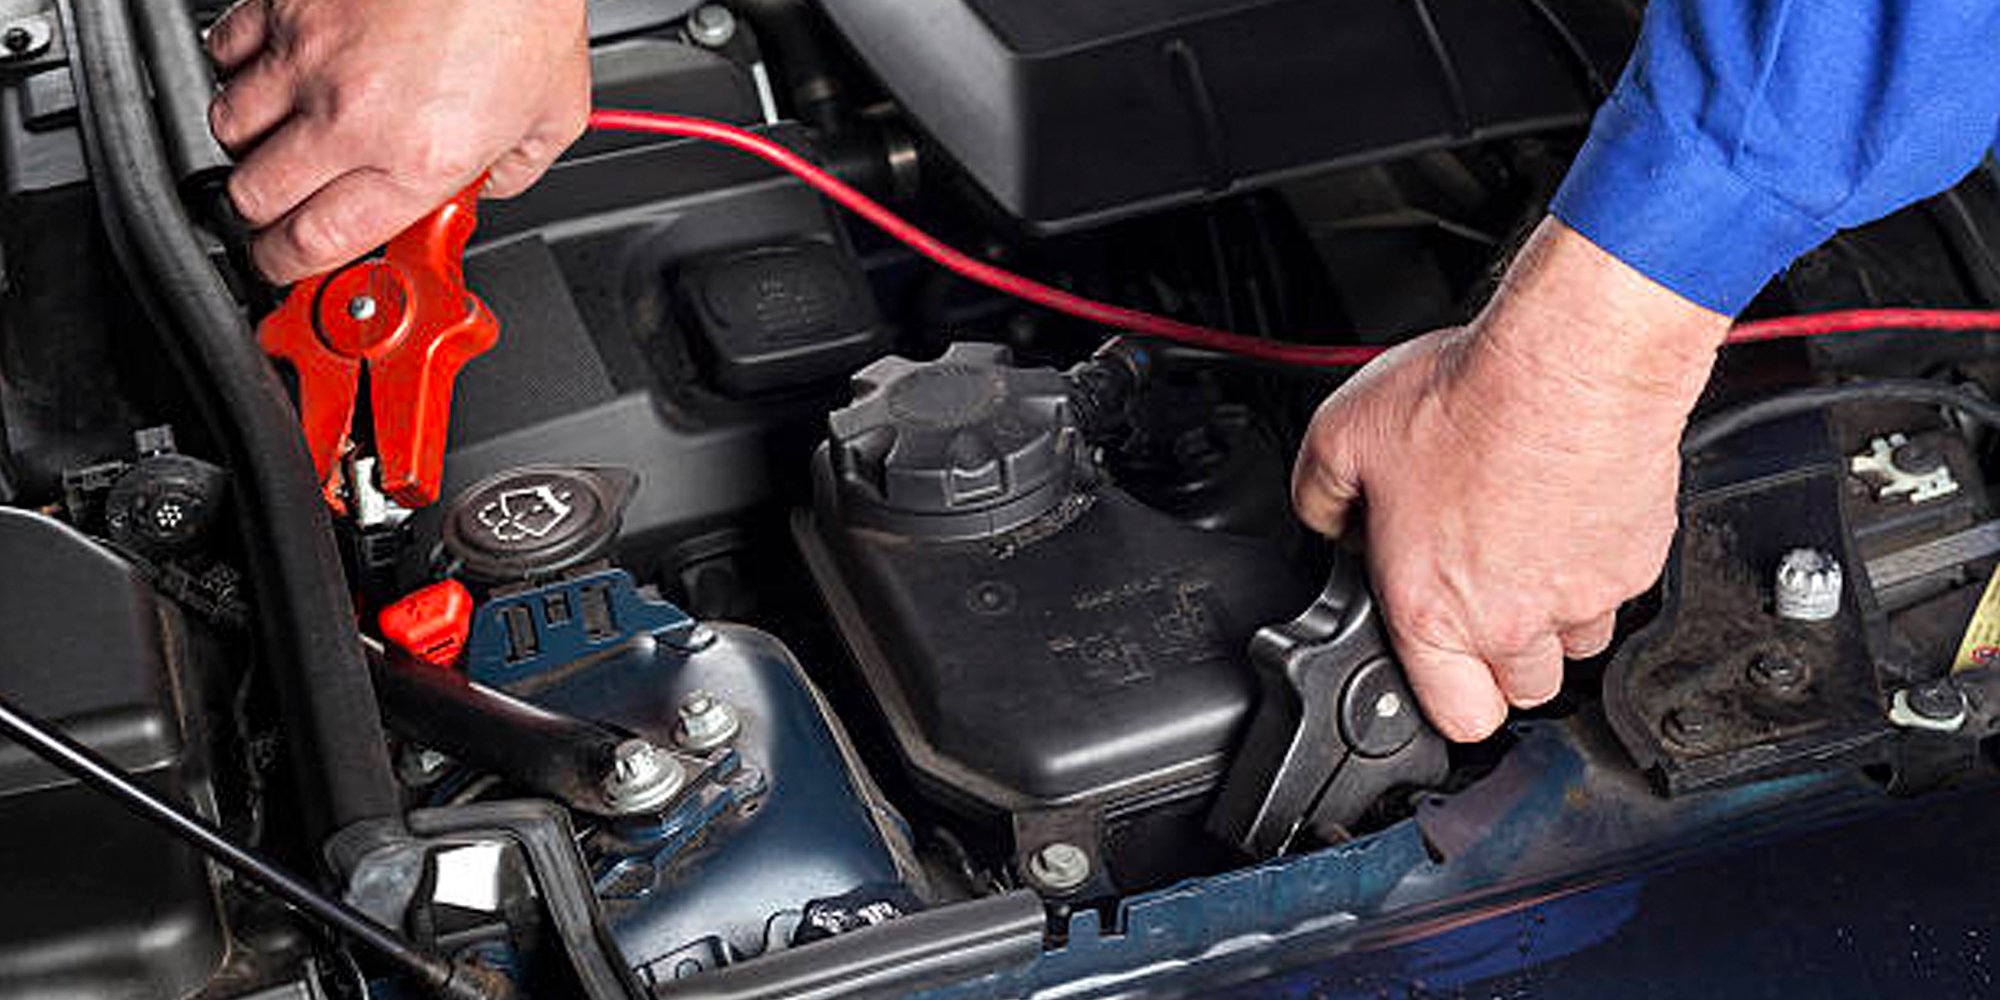
3: Connect Positive to Positive With the Car Jumper Cables
Wearing safety goggles and gloves, connect the first positive clamp (usually marked in red) to the battery's positive terminal (see connection #1 in the illustration below). Next, connect the second positive clamp to the battery's positive terminal in the working car (connection #2)
4: Connect Negative to Negative With the Car Jumper Cables
Connect the first negative clamp (usually marked in black) to the negative battery terminal (connection #3). Next, connect the second negative clamp to an unpainted metal surface on the disabled vehicle (connection #4). This might involve a hood strut or a similar part. Make sure NOT to make this final connection to the negative terminal of the disabled vehicle as connection #4 generates sparks that may ignite escaping hydrogen gas coming from the battery. Wherever you position connection #4, make sure that the clamp and cable won’t come into contact with any of the engine’s moving parts.
5: Start The Working Vehicle
With all four connections correctly in place, start the working car. Once it’s going, press the accelerator a few times to rev up the engine and leave it running.
6: Start The Disabled Vehicle
With connections in place and the working car running, start the disabled vehicle. If it doesn’t start, wait a few minutes and try again. If it still doesn’t start, turn off the working vehicle and reposition connection #4 to a different unpainted metal part on the disabled car. Then, restart the working car. Wait a few minutes and try again.
7: Disconnect Car Jumper Cables
Ensuring that clamps don’t touch each other, disconnect the clamps in the reverse order of how they were first connected. Unclamp connection #4, then unclamp connection #3, and so on. Let the formerly disabled car run for 15-30 minutes to recharge the battery.
Is Red Positive or Negative? How to Use Jumper Cables Properly.
As we’ve covered, it’s crucial to know how to hook up jumper cables properly. This will determine the success of a jump start and help you be safer in the process. Review the 7 jump start steps above and note that jumper cable order involves four connection points spelled out in the graphic below. And, remember that when it comes to jump-starting, red means positive, and black means negative.
Jump start a car from another vehicle
Download the factsheet by entering your email below:
Emergency Car Jump Survival: What to do if Your Car Won't Jump-Start?
If a jump start is unsuccessful, then the problem is likely beyond a dead battery. At this point, you’ll need to call professional help that can either re-attempt a jump start or transport your car to an auto repair shop. You can also reach out to a mobile mechanic who may be able to diagnose and repair your vehicle without the need for a tow truck.
Final Points on How to Jump a Car Battery
With the right equipment and proper knowledge, car owners can jump-start a vehicle. At the same time, it’s important to understand how to attempt jump-starting a car safely.
Quiker’s Mobile Mechanic Service
From helping with jump-starts to diagnosing and repair cars with troubled electrical systems, Quiker is the mobile mechanic service that comes to you. Discover how our professional technicians can save time and reduce headaches.
FAQs About How to Jump-Start a Car
When jump-starting a car, which cable goes first?
A positive (red) clamp connecting to the positive terminal of the disabled car’s battery is the first step.
How do you jump someone else's car?
Follow the same steps that we’ve outlined above. This time, however, your vehicle is the working car.
How long should it take to jump a car?
Assuming everything is set up correctly, it should only take 5-10 minutes to jump a car.
How to jump a car without another car?
You can use a battery jumper. This is a portable power pack that contains its own battery that is of sufficient power to take the place of another vehicle and jump your car. A car with a smaller engine will require a battery jumper with lower amperage (amps) than a vehicle with a larger engine.
Why don't you connect the negative when jumping a car?
Connecting a negative clamp to a disabled car is the last step in properly setting up a jump start. This step can generate a spark. As combustible hydrogen gas can leak from a battery, it’s essential not to risk an explosion. So, moving this last clamp away from the immediate area of the battery is a wise safety precaution.


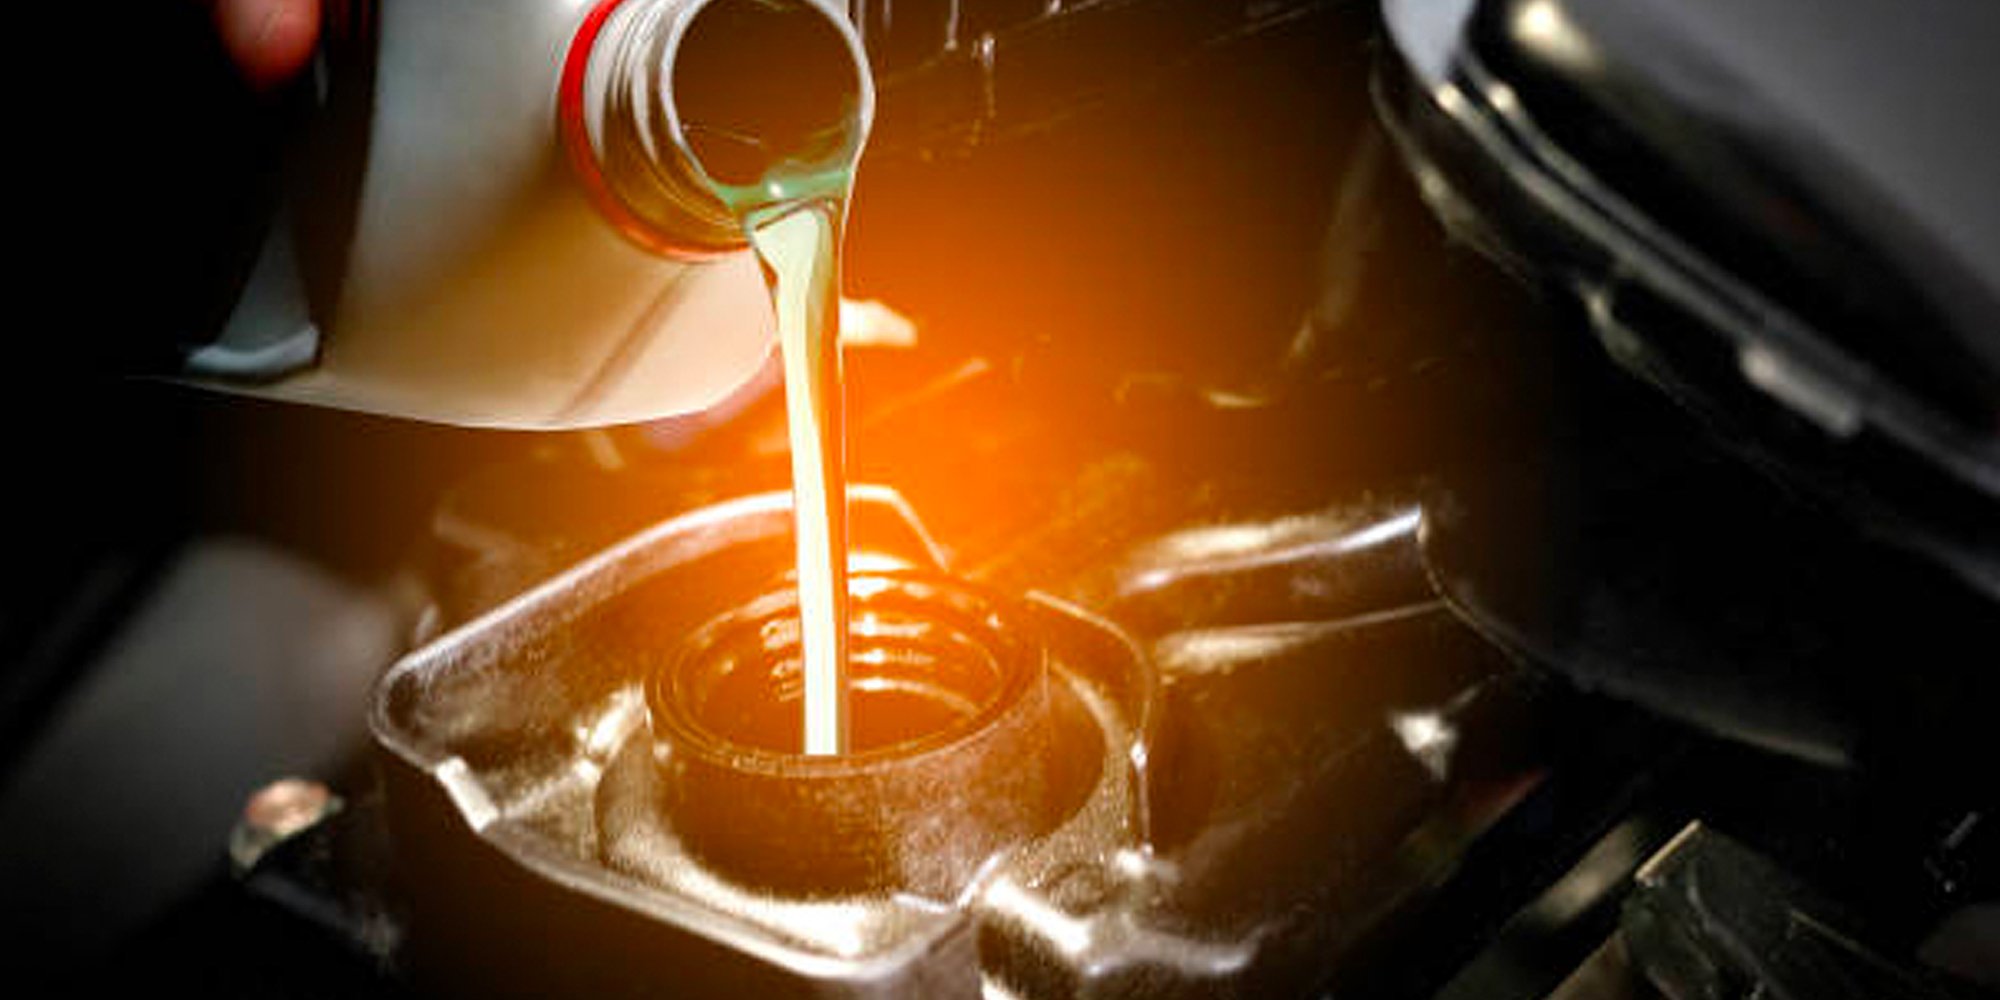
Why Is My Car Leaking Oil [Engine Oil Leak Causes & Fixes]

Common Reasons Your Car Won't Start & How to Fix